MIL-PRF-22710H
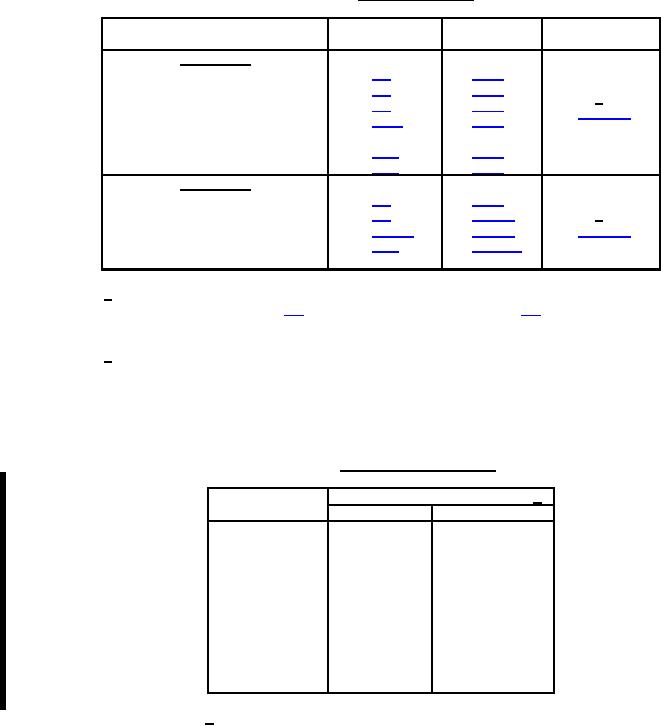
TABLE VII. Group A inspection.
Requirement
Test method
Sampling
Inspection
paragraph
paragraph
plan
Subgroup 1
Visual and mechanical inspection
Material
1/
Interface and dimensions
See 4.4.2.1.1
Lamp circuitry and illumination
(when applicable)
Marking
Workmanship
Subgroup 2
Circuit configuration
Luminance
2/
See 4.4.2.1.2
Color (when applicable)
EMI/RFI shielding (when specified
(see 3.1))
1/
At the option of the contractor, documented in-process inspection may be used to
provided that all of the contractor's in-process control data on these tests are made
available to the Government upon request.
2/
At the option of the contractor, incoming or in-process inspection by photometric
measurement of raw materials may be used to meet the color and luminance
requirements provided that they meet the acceptance criteria and all of the contractor's
in-process control data on these tests and are made available to the Government upon
request.
TABLE VIII. Zero defect sampling plan.
Number of switches to be tested 1/
Lot size
Subgroup 1
Subgroup 2
1-
4
All
All
5-
12
5
All
13 -
50
5
13
51 -
90
7
13
91 -
150
11
13
151 -
280
13
20
281 -
500
16
29
501 - 1,200
19
34
1,201 - 3,200
23
42
3,201 - 10,000
29
50
10,001 - 35,000
35
60
1/ If the sample size is greater than the lot size, the lot
shall be 100 percent inspected.
13
For Parts Inquires call Parts Hangar, Inc (727) 493-0744
© Copyright 2015 Integrated Publishing, Inc.
A Service Disabled Veteran Owned Small Business